

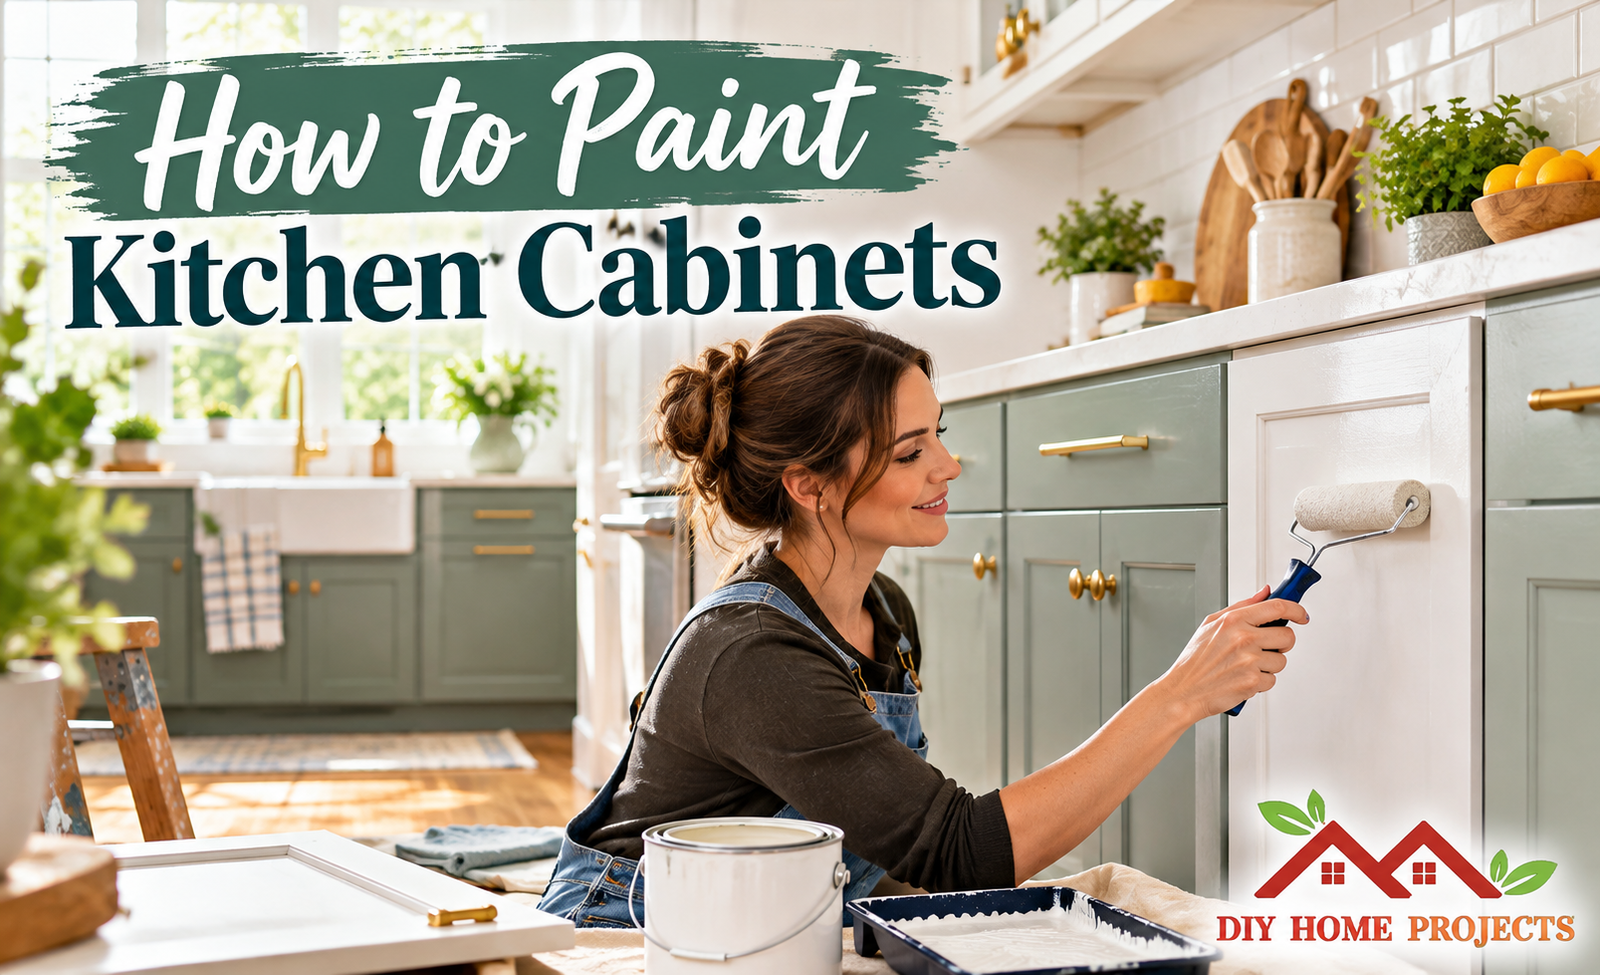
Painting cabinets is one of the most effective ways to refresh a kitchen without paying for a complete renovation. If you are wondering how to paint kitchen cabinets, the key is not simply choosing a color and applying paint. A long-lasting finish depends on careful cleaning, surface preparation, priming, thin paint coats, and enough drying and curing time.
The project requires patience, but it is manageable for many DIY homeowners. Whether your cabinets are dated, scratched, or simply the wrong color for your new kitchen style, this guide explains the process from start to finish. You will also learn which mistakes to avoid and how to achieve a smoother, more professional-looking result.
Quick Answer:
To paint kitchen cabinets, remove the doors and hardware, clean off grease, lightly sand the surfaces, apply a suitable primer, then add two thin coats of durable cabinet paint. Let each coat dry properly and allow the paint to cure before reinstalling the doors for a smooth, long-lasting finish.
What You Need to Paint Kitchen Cabinets
Preparing everything before starting can make the project much easier.
Useful supplies include:
- Cabinet or trim paint
- Suitable bonding primer
- Degreasing cleaner
- Screwdriver or drill
- Painter’s tape
- Drop cloths
- Sandpaper or sanding sponge
- Wood filler
- Tack cloth or microfiber cloth
- Angled paintbrush
- Small foam or fine-finish roller
- Paint tray
- Labels or masking tape
- Safety glasses and gloves
A paint sprayer can create an exceptionally smooth finish, but it is not essential. A good brush combined with a fine-finish roller can produce excellent DIY results.
Step 1: Remove Cabinet Doors, Drawers and Hardware
Do not try to paint everything while the cabinet doors are still hanging.
Remove all doors, drawer fronts, handles, knobs, hinges and other hardware. Painting doors separately gives you better access to corners and edges while reducing the chance of drips.
Create a simple labeling system before removal.
For example:
- Upper Left 1
- Upper Left 2
- Lower Right 1
- Lower Right 2
Place the corresponding hardware in labeled bags.
This small step can save considerable frustration when it is time to put the kitchen back together.
Step 2: Clean the Cabinets Thoroughly
One of the biggest mistakes people make when learning how to paint kitchen cabinets is painting over grease.
Kitchen surfaces collect cooking oils, dust, fingerprints and other residue. Even cabinets that look clean may have a thin greasy layer.
Use an appropriate cleaner or degreaser and thoroughly clean doors, drawer fronts and cabinet frames. Major paint manufacturers also emphasize removing grease and oils before priming because poor preparation can weaken paint adhesion.
Pay particular attention to areas:
- Around handles
- Above the stove
- Near the sink
- Along cabinet edges
- Around frequently touched doors
Allow everything to dry before proceeding.
Step 3: Repair Damage Before Painting
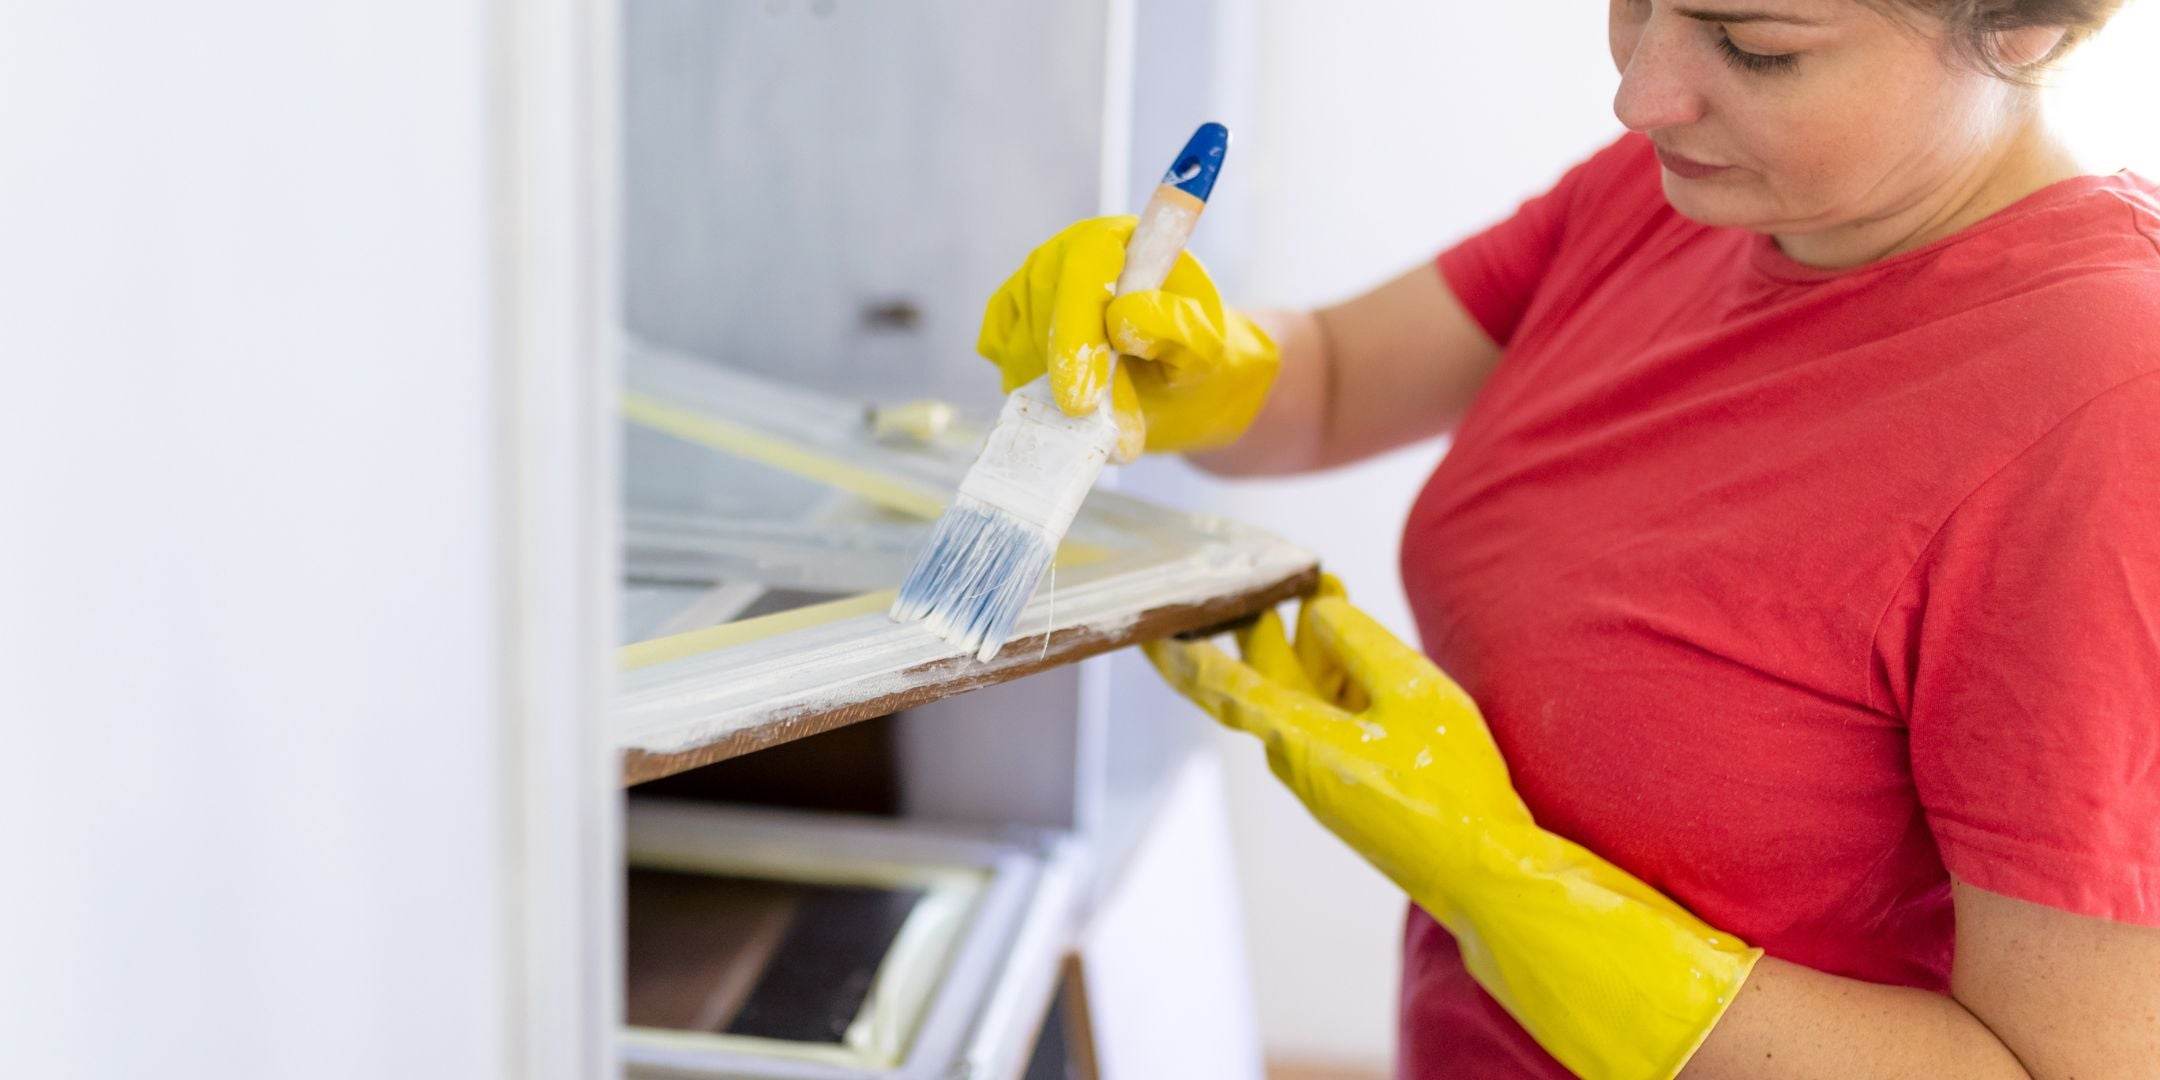
Inspect each cabinet door carefully.
Small dents, old hardware holes, cracks or chips become more noticeable after fresh paint is applied.
Fill imperfections with an appropriate wood filler. Allow it to dry according to the product instructions, then sand the repaired area until it feels level with the surrounding surface.
If you are changing from handles to knobs—or installing hardware with different hole spacing—fill the unwanted holes before priming.
Step 4: Sand the Cabinet Surfaces
You usually do not need to remove every trace of the old finish.
The goal of sanding is primarily to clean up imperfections and create a dull surface that allows the primer or paint system to bond properly.
For many previously finished surfaces, medium-to-fine sandpaper can be used to dull the finish. Benjamin Moore, for example, recommends 180- to 220-grit paper for certain previously finished cabinet surfaces.
Work gently. Aggressive sanding can damage veneer or expose unwanted layers underneath.
After sanding:
- Vacuum away the dust.
- Wipe surfaces with a clean microfiber or damp cloth.
- Allow them to dry completely.
Your cabinets should now feel clean, smooth and dull rather than greasy or glossy.
Step 5: Apply the Right Primer
Primer is particularly important when painting stained wood, glossy cabinets, laminate or surfaces where adhesion could be difficult.
Choose a bonding primer that is compatible with both the cabinet material and your selected topcoat.
Apply primer in a thin, even layer.
Use an angled brush for:
- Corners
- Profiles
- Decorative grooves
- Narrow edges
Then use a small fine-finish roller on flat areas.
Do not apply an unnecessarily thick primer coat. Heavy layers take longer to dry and may create ridges.
If you are uncertain about compatibility, applying primer to a small hidden test area and checking adhesion before completing the entire kitchen is a sensible approach. Sherwin-Williams specifically recommends adhesion testing when working with cabinet surfaces.
Step 6: Lightly Sand the Primer
Once the primer has dried according to its instructions, inspect the surface.
Even good primer can leave small dust particles, roller texture or raised wood fibers.
A very light sanding with fine-grit sandpaper can help create the smooth surface needed for a professional-looking topcoat.
Do not sand aggressively enough to remove the primer.
After sanding, remove every trace of dust before painting.
Step 7: Choose the Best Paint for Kitchen Cabinets
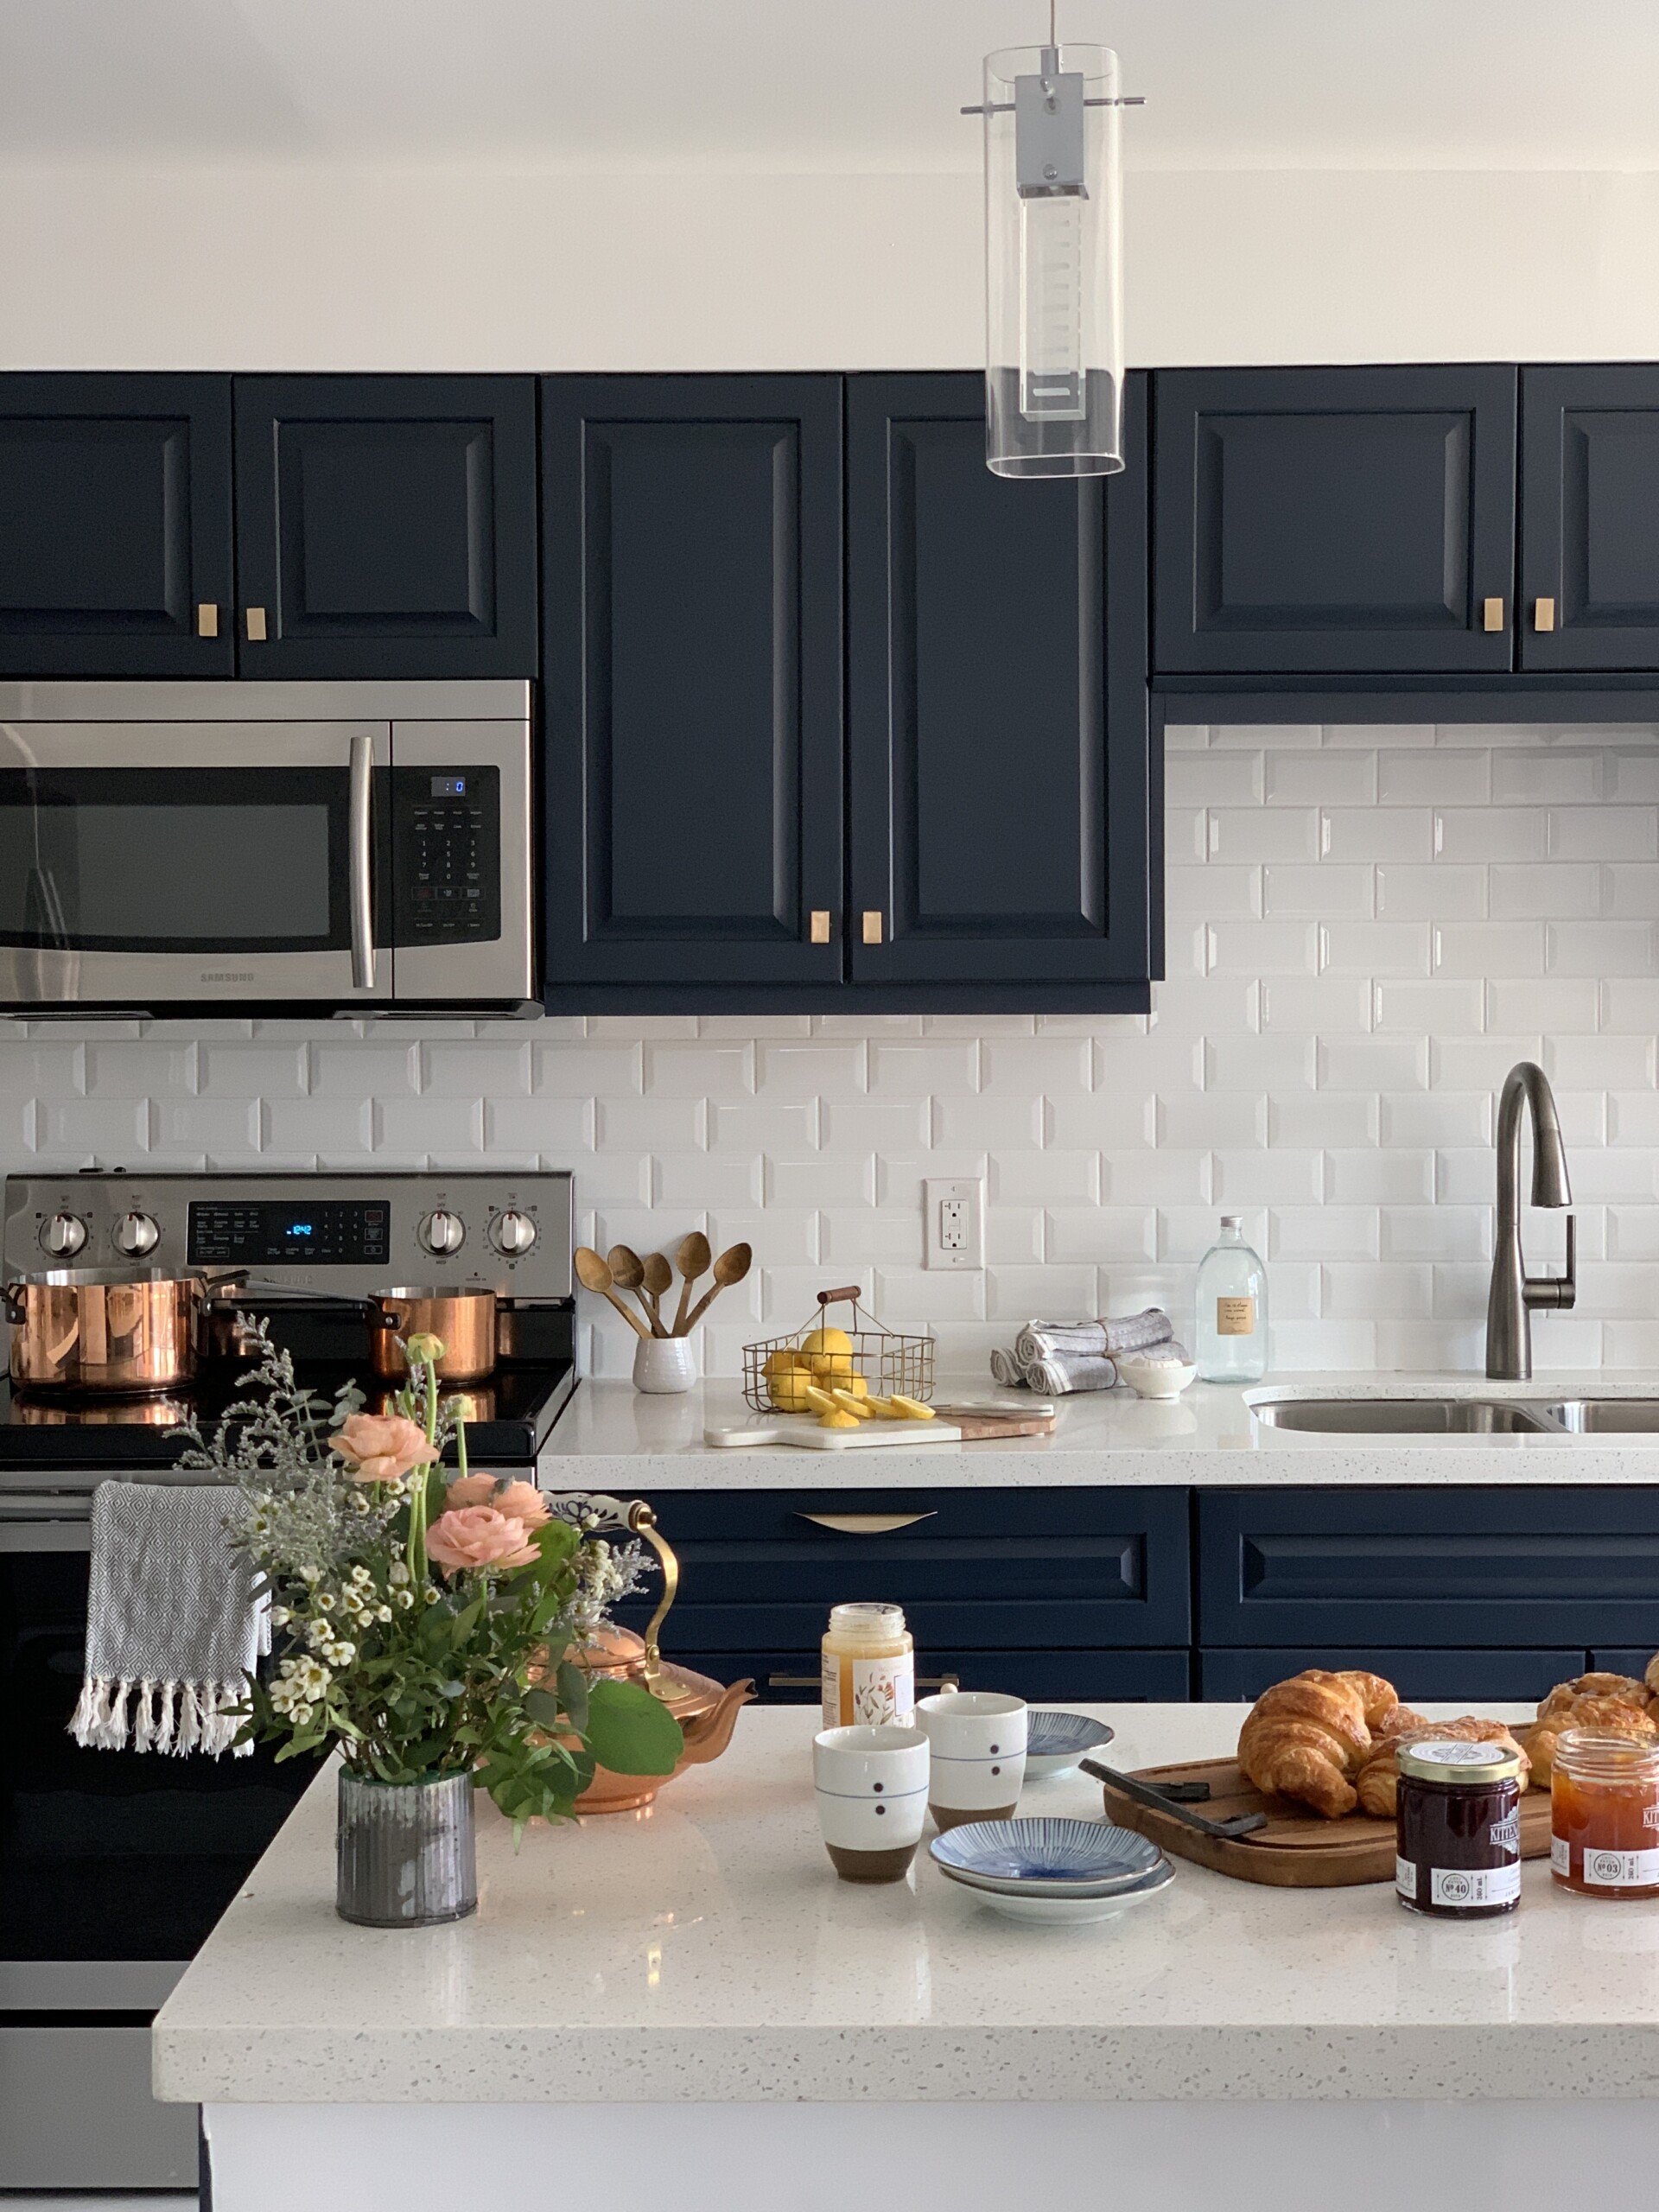
Kitchen cabinets face more wear than ordinary walls.
They are touched constantly and exposed to moisture, heat, grease and frequent cleaning. For that reason, ordinary wall paint is not always the best choice.
Look for paint intended for:
- Cabinets
- Doors
- Trim
- Furniture
- High-use interior surfaces
Durable enamel-style or urethane-reinforced trim paints are popular because they are designed to dry harder and level more smoothly than many standard wall paints.
What Finish Is Best?
Satin and semi-gloss are common cabinet finishes.
Satin:
Offers a softer appearance and hides minor imperfections better.
Semi-gloss:
Provides more shine and can be easier to wipe clean, although surface imperfections may be slightly more visible.
The right option depends on the look you want.
Step 8: Apply the First Coat of Paint
Now comes the transformation.
Start with detailed or recessed areas using an angled brush. Then immediately paint larger flat sections using a small roller.
Apply thin coats rather than trying to cover everything with one heavy application.
For cabinet doors, paint one side and allow it to dry properly before flipping the door.
Check the surface from different angles while the paint is still wet. Remove visible drips or heavy buildup before they dry.
Step 9: Apply a Second Coat
One coat is rarely enough for the best cabinet finish.
Wait for the manufacturer’s recommended recoat time rather than assuming the surface is ready because it feels dry.
Paint products can have very different drying and recoating schedules. Some cabinet coatings require many hours between coats.
Once ready, lightly smooth any imperfections if necessary, remove dust, and apply the second coat using the same thin and controlled technique.
A second coat improves:
- Color consistency
- Coverage
- Surface durability
- Overall appearance
Dark-to-light color changes may occasionally need an additional coat.
Step 10: Let the Paint Cure
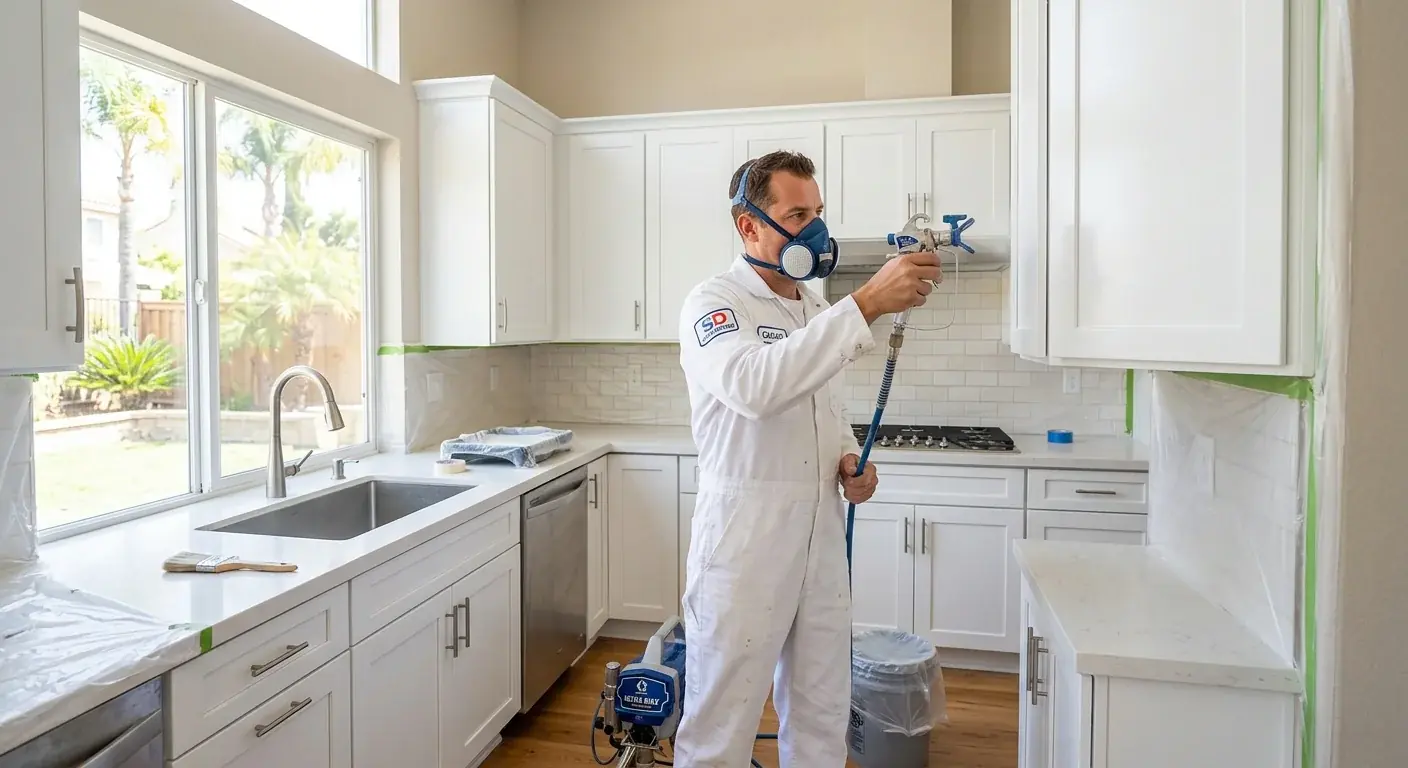
Dry paint and fully cured paint are not the same thing.
A surface can feel dry while still remaining relatively soft underneath.
This is why freshly painted cabinets can sometimes become scratched, dented or stuck together when they are reassembled too quickly.
Allow as much curing time as the paint manufacturer recommends. Some cabinet coatings may require several days before normal use, and cure time varies significantly by product, temperature and humidity.
During this period, avoid aggressive cleaning or heavy use.
Patience here can make a major difference in durability.
Common Kitchen Cabinet Painting Mistakes
Even expensive paint cannot compensate for poor preparation.
Skipping Cleaning
Grease prevents proper adhesion and may lead to peeling.
Painting Over a Glossy Surface Without Proper Prep
A slick existing coating can make it difficult for new coatings to bond.
Applying Thick Paint
Heavy coats are more likely to drip, sag and cure slowly.
Using the Wrong Paint
Cabinets require a tougher coating than many walls.
Rushing Between Coats
Always follow the manufacturer’s recoat instructions.
Reinstalling Doors Too Soon
Fresh paint may feel dry but still be vulnerable to pressure marks and sticking.
Should You Paint the Inside of Kitchen Cabinets?
You do not always need to.
Leaving interiors unpainted saves considerable time, particularly when the inside surfaces are already clean and attractive.
Painting the inside can make sense when:
- Cabinets have glass doors
- Interior surfaces are badly stained
- You want a completely coordinated finish
- You want a contrasting decorative color
If you paint the inside, remember that shelves require enough curing time before dishes, glasses or containers are returned. Placing objects on incompletely cured paint may cause sticking or surface damage.
How Long Does It Take to Paint Kitchen Cabinets?
The actual painting is only part of the project.
A typical DIY cabinet makeover may take several days because you need time for cleaning, preparation, primer, multiple coats and curing. Sherwin-Williams describes cabinet painting as a multi-day project rather than a one-day update.
For the best result, plan the project around drying time instead of trying to complete it as quickly as possible.
FAQs
Q1. Can I paint kitchen cabinets without sanding?
Sometimes. Certain bonding primers are designed to adhere to properly cleaned surfaces with minimal sanding. However, glossy, damaged or questionable finishes may still benefit from light sanding. Always check the instructions for your primer and cabinet material.
Q2. Do I need primer before painting kitchen cabinets?
Primer is strongly recommended when dealing with stained wood, glossy surfaces, difficult materials, repaired areas or major color changes. It can improve adhesion and create a more consistent base for paint.
Q3. Is it better to roll or brush kitchen cabinets?
Using both often gives the best DIY result. A brush handles corners and decorative details, while a fine-finish roller produces a smoother finish across broad flat surfaces.
Q4. How many coats of paint do kitchen cabinets need?
Two thin topcoats are common. Additional coats may be required when making a dramatic color change or when coverage is uneven.
Q5. Can I paint laminate kitchen cabinets?
Many laminate cabinets can be painted, but surface preparation and product compatibility are especially important. Clean thoroughly, dull the surface if required and use a primer specifically suitable for hard-to-bond materials.
Q6. How long should cabinets dry before reinstalling the doors?
Follow the specific paint manufacturer’s instructions. Recoat time, handling time and full cure time are different measurements, so avoid reinstalling or heavily using cabinets simply because the surface feels dry.
Conclusion
Learning how to paint kitchen cabinets can help you achieve a major kitchen transformation without replacing the entire cabinetry. The most important part of the project happens before the final color goes on: clean thoroughly, repair damage, prepare the existing finish and use compatible primer and paint.
Apply thin coats, respect the recommended drying times, and give the finished surface enough time to cure before returning the kitchen to normal use.
