

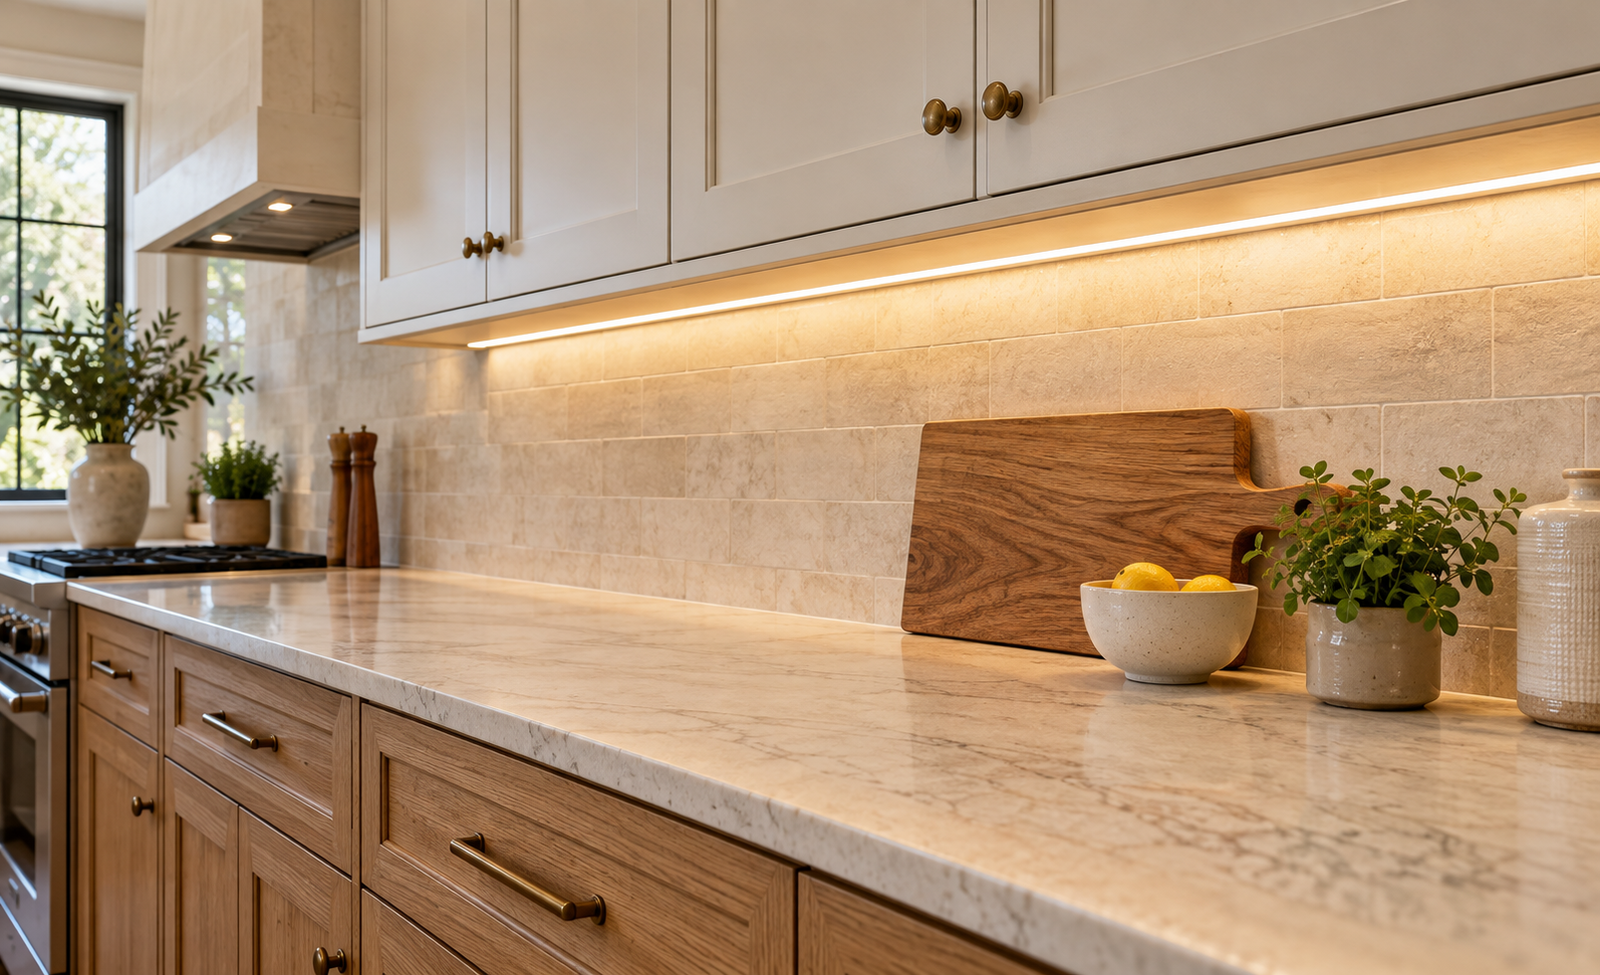
Under cabinet lighting illuminates the countertop beneath your upper cabinets, helping you see clearly when preparing meals and cleaning. For a frequently used kitchen, dimmable LED bars or tape lights are a practical starting point. The right choice depends on your cabinet layout, available power, preferred light color, and how much installation work you want to do.
A successful setup spreads light across the work surface without distracting glare. This guide explains how to compare fixtures, choose useful features, and plan placement before buying.
Quick Answer
Under cabinet lighting brightens kitchen countertops for food preparation and cleaning. LED bars and strips are practical choices for even coverage, while puck lights suit smaller areas. Choose a plug-in system for simpler installation or hardwired lighting for a permanent setup. Check brightness, color temperature, and dimmer compatibility before buying.
Which Type of Under Cabinet Lighting Should You Choose?
Start with the area you need to illuminate. A long food-preparation counter needs different coverage from a small coffee station.
| Lighting type | Useful for | Main consideration |
|---|---|---|
| LED light bars | Everyday countertop tasks | Fixed lengths must fit the cabinet layout |
| LED tape or strip lights | Long runs and discreet installations | Require compatible power supplies and connectors |
| Puck lights | Small areas and individual pools of light | Spacing matters to avoid dark gaps |
| Rechargeable lights | Temporary lighting where power is inconvenient | Runtime and charging frequency vary |
LED light bars
Bars offer a straightforward way to illuminate a work surface. Their rigid housings are easy to position, and some systems allow several fixtures to connect together.
Choose lengths that provide coverage across the usable counter. One short fixture centered beneath a wide cabinet may leave both ends noticeably darker.
LED tape lights
Tape lights fit into shallow spaces and can create a continuous line of illumination. Depending on the product, they can be cut at designated points and mounted in a channel.
They need more planning than a self-contained fixture. Check which power supply, connectors, mounting accessories, and controls belong to the system. Kichler’s installation guidance distinguishes these requirements from the simpler connections available on rigid fixtures.
Puck and rechargeable lights
Pucks suit compact areas, but check how their beams overlap before committing to a layout.
Rechargeable models can be convenient when adding wiring is impractical. For daily cooking, compare the stated runtime at the brightness you intend to use. A long runtime advertised for a low setting may not reflect full-brightness performance.
Choose Your Power Source Before Buying
The power connection affects installation, appearance, and everyday convenience.
Plug-in lighting works well when a suitable outlet is nearby. Plan the cord route first, and remember that the adapter occupies outlet space you might need for appliances.
Hardwired lighting can provide a tidy permanent installation. Include an electrician in the planning stage if the project requires new wiring or changes to an existing circuit.
Battery-powered lighting avoids a permanent power connection, but adds charging or battery replacement to your routine.
A useful decision rule is to consider how often you use the counter. Temporary lighting may be enough for occasional access; a regularly used preparation area benefits from a dependable power supply.
Understand Brightness, Color Temperature, and CRI
These specifications describe different qualities. Comparing them separately makes shopping easier.
Brightness: compare lumens
Lumens describe light output; watts describe electrical power consumption. A higher wattage does not automatically mean a better lighting result. The Department of Energy recommends using lumens when comparing brightness.
Check whether the listed output applies to one fixture, one foot of strip, or an entire kit.
Hypothetical example: A two-foot bar producing 600 lumens averages 300 lumens per foot. That makes it easier to compare with tape rated per foot, although beam shape and placement still affect countertop illumination.
There is no single lumen figure that suits every kitchen. Mounting height, counter depth, surface finishes, and existing room lighting all influence the result. Look for application guidance from the manufacturer and choose compatible dimming when you want adjustable brightness.
Color temperature: choose a consistent appearance
Color temperature is measured in kelvin, or K. Lower numbers look warmer; higher numbers look cooler.
Useful options to compare include:
- 2700K: A warm appearance for a cozy kitchen.
- 3000K: A starting point when you want warm white light.
- 3500K–4000K: Worth sampling if you prefer a more neutral or cooler appearance.
These are appearance preferences, not rules. Compare a sample with your ceiling lights switched on, especially if both will operate together.
Color rendering: look beyond warm or cool
The color rendering index, or CRI, describes how faithfully a light source reveals colors compared with a reference source.
A CRI of 90 or higher is a useful shopping preference when the appearance of food, cabinetry, and finishes matters. Lighting manufacturer Waveform recommends at least 90 CRI for general under-cabinet applications.
Where Should the Lights Go?
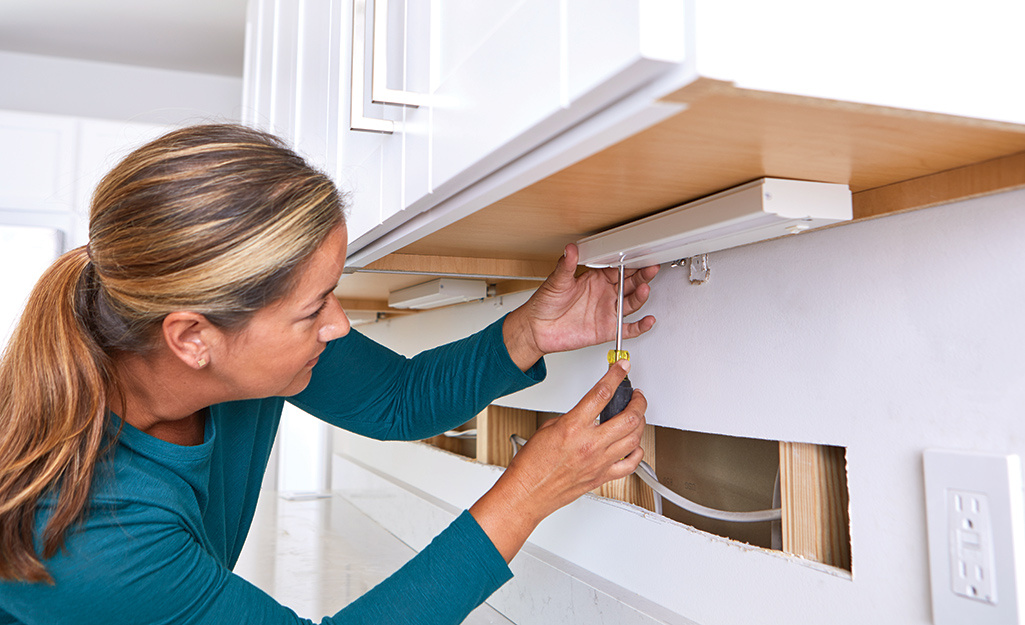
For countertop tasks, start by testing a position toward the front of the cabinet underside, with the fixture concealed behind the cabinet’s lower lip where possible.
Check the effect from both standing and seated positions. You want useful light on the counter without seeing a bright exposed source.
Polished countertops deserve particular attention because they can reflect individual LED points. A diffuser or a different mounting angle may help. Armacost specifically describes mounting compatible tape behind the cabinet lip as an option for reducing bright reflections on reflective counters.
Before permanent mounting, assess:
- Whether your main preparation area receives even light.
- Whether cabinet dividers create shadows.
- Whether corner sections need separate coverage.
- Whether the fixture is visible from nearby seating.
Avoid choosing placement solely because it makes cable routing easier.
Plan the Installation in Five Steps
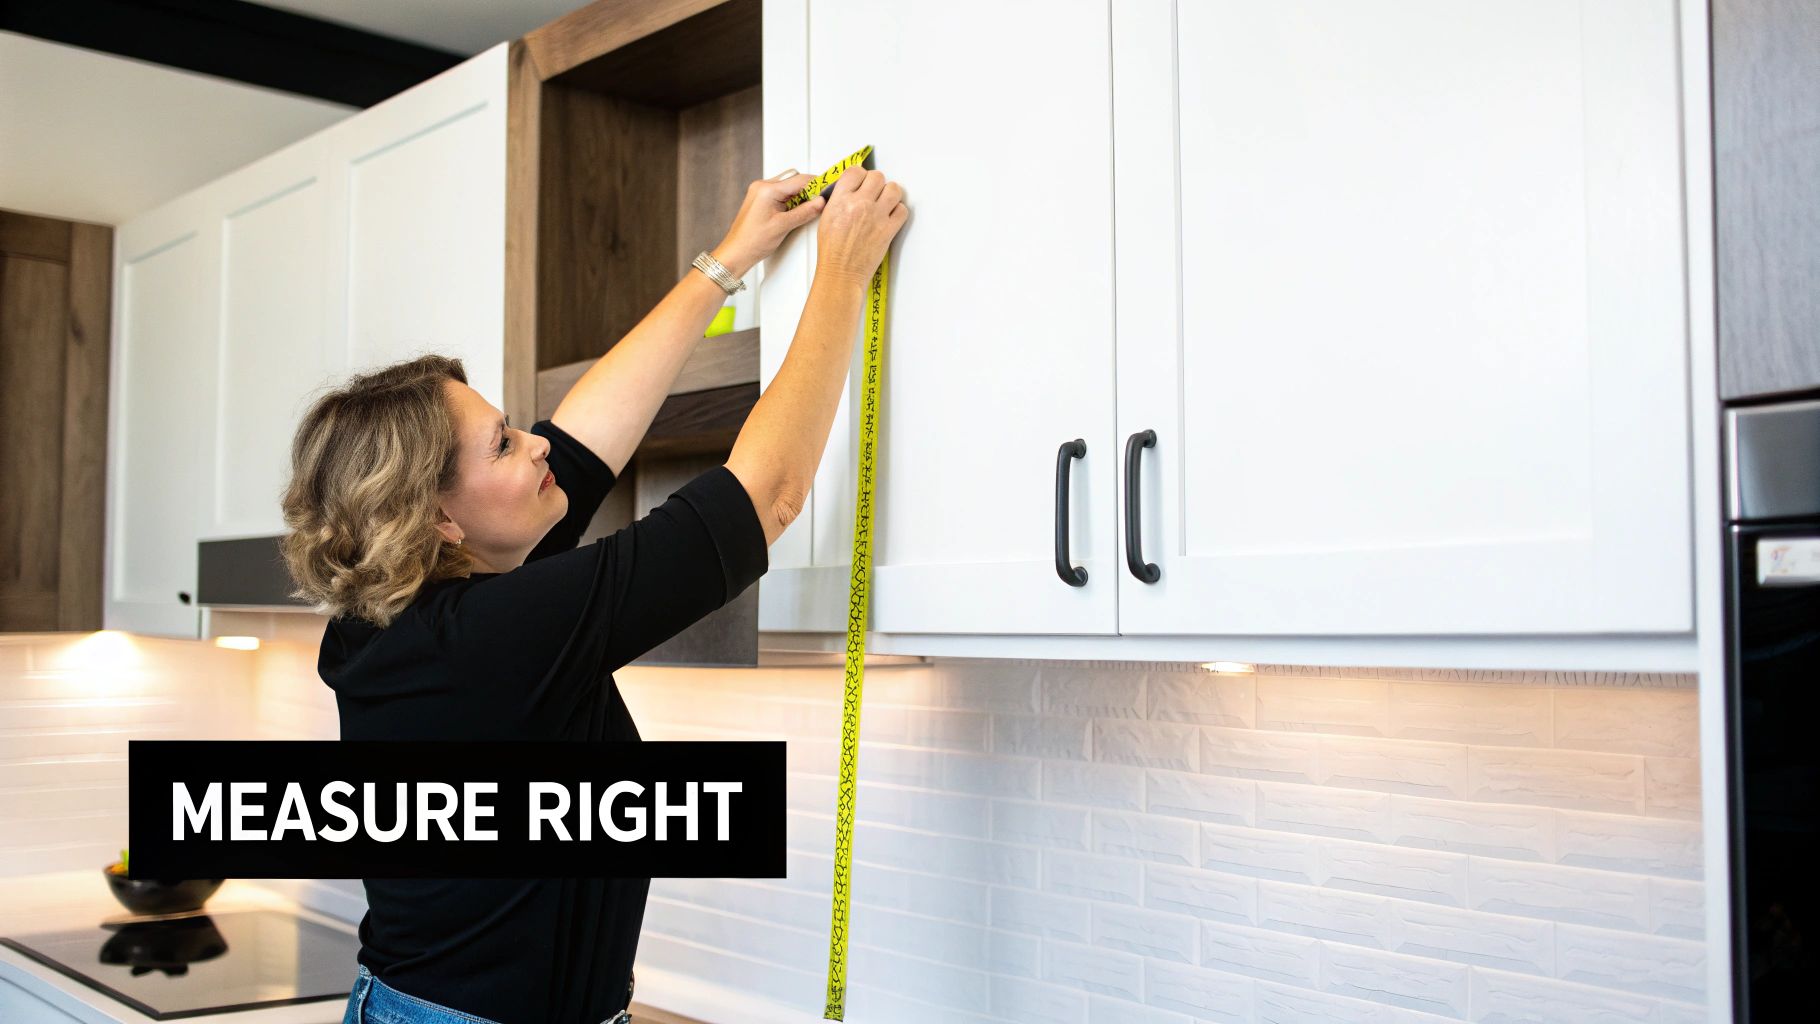
1. Measure each cabinet section
Record the usable underside dimensions, including obstructions and the depth of any cabinet lip. Measure the route between sections as well as the illuminated length.
2. Make a complete parts list
Include fixtures, connectors, mounting hardware, controls, and any required power supply. A strip-light listing may include only the strip.
For a modular system, follow its instructions for voltage, power-supply capacity, and maximum connected length. Armacost publishes separate installation instructions for its strips, drivers, controls, and accessories, illustrating why the exact product manual matters.
3. Plan access to controls
Think about where you naturally reach when entering the kitchen. A switch hidden behind countertop appliances can make otherwise good lighting frustrating to use.
4. Check the lighting effect
Where the manufacturer permits temporary testing, assess brightness, reflections, and color before permanent mounting. Follow any instructions about unrolling tape before powering it.
5. Install according to the product instructions
For a plug-in kit, disconnect power while assembling and mounting it. Use the specified mounting method and keep connections away from water and heat.
Have an electrician handle unfamiliar hardwiring or circuit changes. Manufacturer installation guidance should take precedence over a general online tutorial.
Common Problems and Practical Fixes
| Problem | What to check |
|---|---|
| Bright spots reflected in the counter | Fixture angle, concealment, and diffuser options |
| Dark sections between lights | Fixture length, spacing, and cabinet obstructions |
| Light looks mismatched | Kelvin ratings across the kitchen |
| Lights flicker when dimmed | Fixture, driver, and dimmer compatibility |
| Rechargeable lights need frequent charging | Runtime at the selected brightness and sensor settings |
For dimming problems, confirm that the light is dimmable and approved for the chosen control. Lutron notes that flickering near the bottom of the dimming range can sometimes be addressed through the dimmer’s low-end adjustment, following the model’s instructions.
FAQs
Q1. Can under cabinet lighting replace ceiling lights?
It mainly serves the counter beneath the cabinets. Keep general room lighting for walkways, islands, and areas outside that coverage.
Q2. Are motion sensors useful in a kitchen?
They can be convenient for brief visits. For longer preparation tasks, check whether the light offers an always-on mode so it does not depend entirely on detecting movement.
Q3. Can you cut any LED strip to fit?
No. Cut only products designed for trimming, and only at their marked cutting points. Check how cutting affects connections and the manufacturer’s installation requirements.
Q4. Should every cabinet have a separate light?
Not necessarily. Plan around continuous countertop coverage. One linked or continuous system may cover several cabinets, while dividers and corners may require separate sections.
Conclusion
Good under cabinet lighting begins with the countertop task, cabinet dimensions, and power connection. Measure your space, shortlist compatible LED bars or tape systems, and test the light’s appearance before permanent installation. Even coverage and convenient controls will matter every time you use the kitchen.
